Creating a salon-quality manicure at home is achievable with the right tools, techniques, and a bit of patience. In recent years, at-home beauty routines have become more popular, and manicures are no exception.
Whether you're looking to save time and money or simply enjoy the relaxing ritual of self-care, learning to give yourself a polished, professional-looking manicure is incredibly rewarding. With just a few essential tools and some easy-to-master techniques, you can elevate your at-home nail care routine to a new level. Plus, doing your own nails allows you to customize the experience, from choosing colors and shapes to experimenting with designs that reflect your personal style.
This guide will walk you through each step of the process, from prepping your nails to applying polish, so you can achieve that fresh-from-the-salon look right from the comfort of your own space. Get ready to enjoy beautiful, long-lasting results without ever leaving your home.
Nail Clippers
Nail clippers are essential for achieving a clean, uniform nail length. Quality clippers with a precise edge will help avoid jagged cuts that can cause nails to chip or split.
Look for stainless steel clippers, as these tend to stay sharp and resist rusting, especially if you use them frequently.
Nail File
A fine-grit nail file is necessary for shaping and smoothing the edges of your nails. Avoid metal files and opt for an emery board or glass file to reduce the risk of splitting and achieve a smooth edge. Emery boards are inexpensive and effective, but glass files offer a smoother finish and are reusable with proper cleaning.
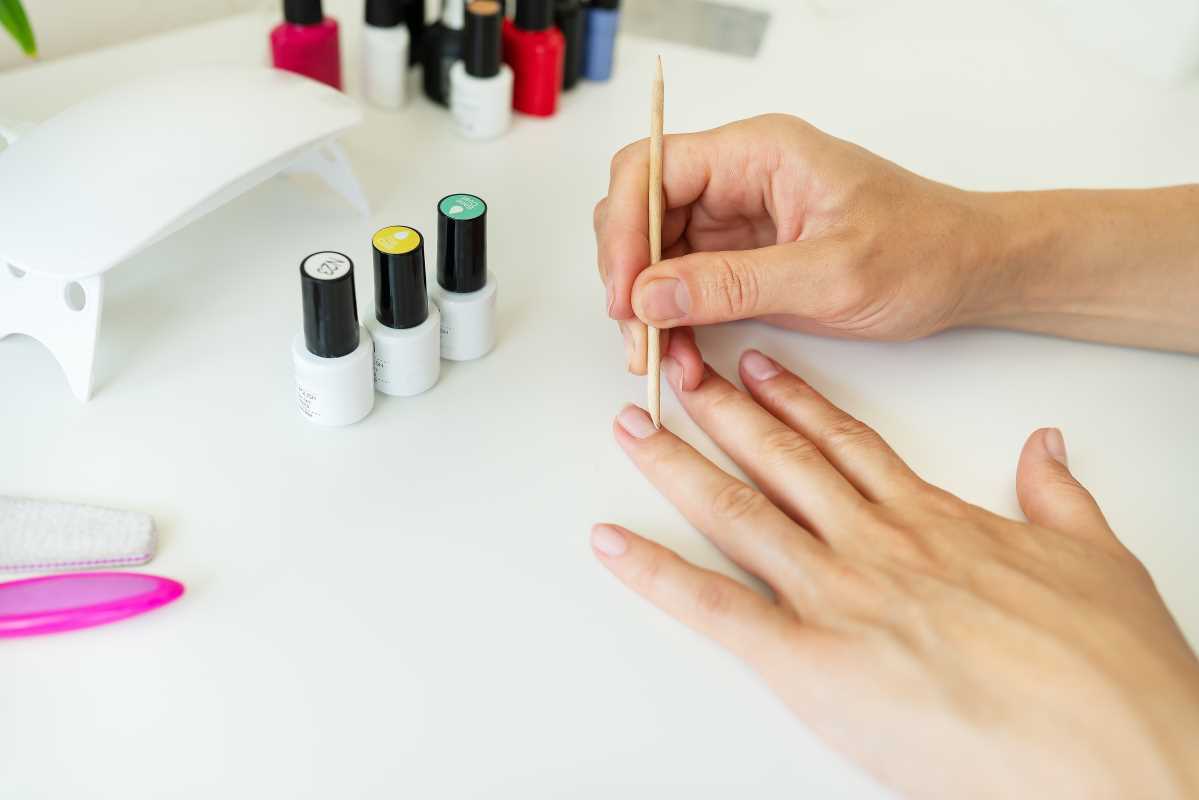
Cuticle Pusher
- Cuticle pushers are invaluable for tidying up your nail bed.
- Wooden or stainless steel pushers work best, with each having a rounded edge that can gently push back your cuticles without causing damage.
- Using a cuticle pusher helps prevent overgrowth around the nail bed, which can lead to hangnails and an unpolished look.
Cuticle Nippers
While optional, cuticle nippers are a great addition if you need to trim away excess cuticle skin that can cause roughness or discomfort. Opt for a sharp, stainless-steel pair and use them sparingly to avoid cutting too much, which can lead to infections or discomfort.
Nail Buffer
A nail buffer smooths the nail surface, creating an ideal base for polish. Buffing blocks, which have multiple sides with different textures, are perfect for leveling out ridges and adding shine to your natural nails.
Use a gentle hand; over-buffing can thin and weaken your nails.
Nail Brush
- A small nail brush helps clean dirt and debris from under the nails and around the cuticles, giving your hands a polished look.
- This step is especially crucial if you’ve been gardening or doing work that can lead to dirty hands.
Choose a brush with gentle bristles, as harsh ones can damage your nails and cuticles.
Base Coat
A high-quality base coat is essential for a lasting manicure and for protecting your nails from staining, especially with dark or vibrant polish colors. Many base coats also contain nourishing ingredients like vitamins and proteins that strengthen your nails over time.
Nail Polish
The right nail polish can make or break your manicure. High-quality, chip-resistant polish is worth the investment if you want a long-lasting, salon-quality finish.
Look for brands known for durability, even application, and vibrant pigments. You’ll also want a color palette that complements your style, whether that’s a classic red, a soft nude, or a trendy, seasonal shade.
Top Coat
A good top coat locks in your polish, providing shine and extending wear. Quick-dry top coats are popular for home manicures since they minimize the risk of smudging, while gel-like top coats offer that thicker, high-shine finish typical of professional gel manicures. Both options can provide excellent results depending on your preferences.
Nail Polish Remover and Cotton Pads
Mistakes happen, and a clean-up tool is essential. Non-acetone removers are gentler on nails, though acetone-based removers are faster and more effective for tougher polishes.
Pair with lint-free cotton pads to avoid residue left on the nail bed that can affect polish application.
Clean-Up Brush
A small, angled brush dipped in polish remover is ideal for tidying up the edges of your nails. Dip the brush in remover and run it carefully along the sides and cuticles to remove any polish that might have strayed onto your skin. This step is the key to a professional, crisp line at the edges of your nails.
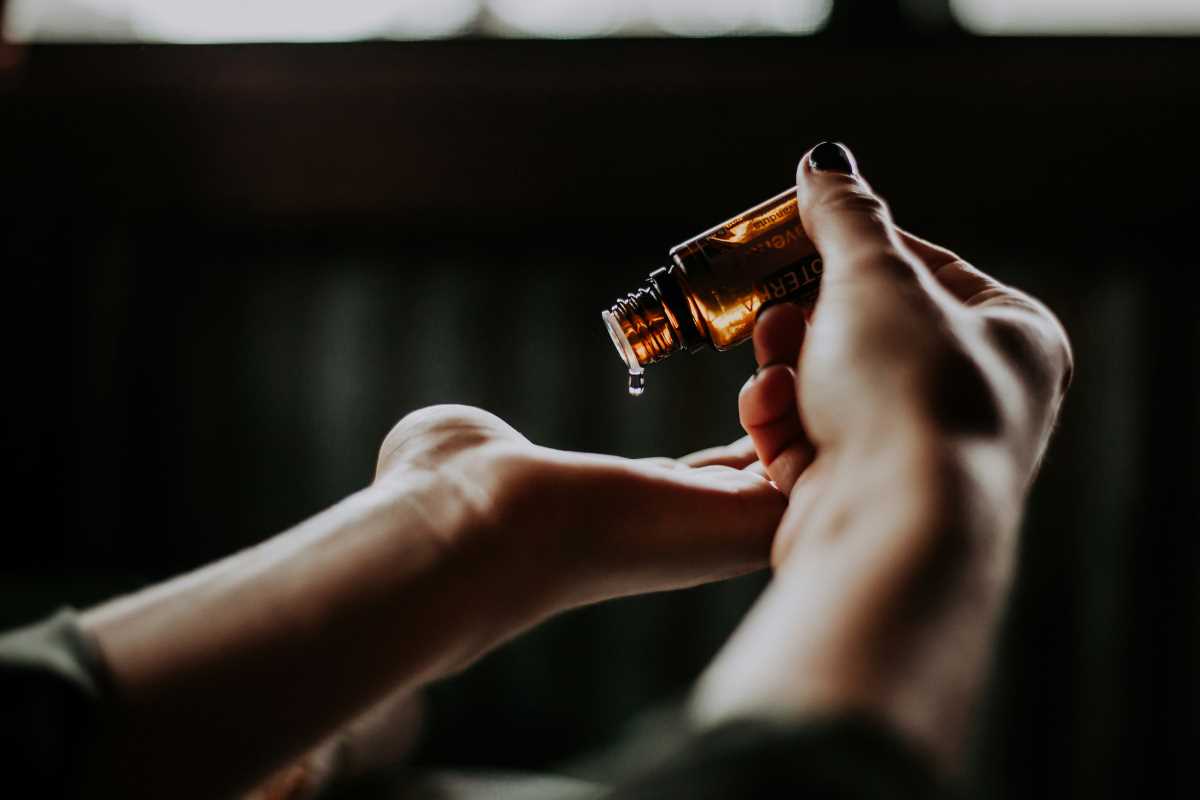
Cuticle Oil
Nourishing cuticle oil is a finishing touch that hydrates and softens your cuticles, promoting healthy nail growth and preventing dryness. Oils with vitamin E, jojoba, or almond are especially moisturizing.
Apply a small drop to each cuticle, massaging it in for full absorption.
Hand Cream
The final step in a salon-quality manicure is moisturizing your hands. Choose a rich hand cream that won’t feel greasy. Look for ingredients like shea butter, aloe vera, or glycerin, which lock in moisture and leave hands feeling soft and smooth.
UV or LED Lamp (For Gel Polish)
If you’re interested in achieving a long-lasting gel manicure, a UV or LED lamp is required to cure the gel polish. These lamps are generally compact and easy to use, but make sure to follow the timing recommendations on your polish to avoid over-curing, which can cause the polish to peel.
Nail Art Tools
If you want to experiment with nail art, add a set of dotting tools, thin brushes, and tape or stencils to your kit. These allow for creative designs like polka dots, stripes, or even intricate patterns.
Nail stickers and decals are another fun option for adding professional-looking designs without a steady hand.
Essential Tips for a Salon-Quality Finish
- Prep Carefully: Start by soaking your hands in warm, soapy water for a few minutes to soften cuticles and make filing easier. Afterward, dry your hands thoroughly before moving on.
- Take Your Time with Shaping: File in one direction to avoid rough edges and potential splitting. This technique is gentler on your nails and leads to a smoother shape.
- Work in Thin Layers: When applying polish, thin layers dry more evenly and are less prone to smudging. Two or three thin coats of color will create a rich, streak-free finish.
- Seal the Tips: When applying top coat, swipe a small amount along the edge of each nail tip. This step helps prevent chipping and prolongs the polish’s lifespan.
- Stay Hydrated: After finishing, keep cuticles and hands hydrated daily to maintain the look of your manicure. This not only keeps your skin healthy but also enhances the longevity of your manicure.
With these tools and steps, you can achieve a salon-quality manicure at home, transforming nail care into a relaxing, creative ritual. Once you’ve mastered the basics, you may find yourself experimenting with new colors, designs, and textures, all with the confidence of a professional finish.
 (Image via


